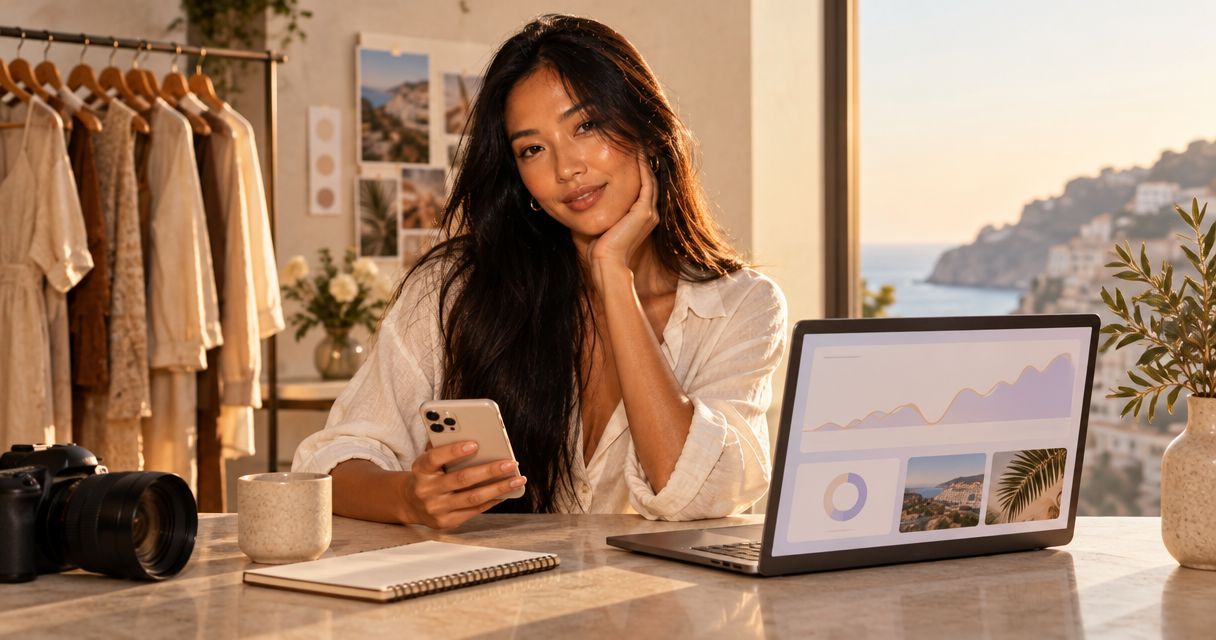
A creator website for fashion influencers is a branded destination that brings outfit links, collaborations and audience channels together to help visitors find the right next step. This 2026 guide shows you how to build one around your style, choose a custom domain and keep shopping separate from business inquiries.
TL;DR
- AkaMe fits a creator website for fashion influencers who want a custom domain with registration and publishing handled.
- Organize outfit links, brand inquiries and subscriber destinations around distinct visitor needs.
- Choose a link-in-bio website builder by setup workflow, customization needs and the destinations you already use.
- Preview your creator website on mobile before putting it in your social bios.
Why a creator website matters for fashion influencers
A fashion post creates a specific question: where is that jacket, which collection is this, or how can a brand contact you? Your creator website should answer that question without making visitors search through unrelated links.
Your needs also differ from a conventional clothing store. You might send shoppers to retailers, collaborators to an inquiry channel and subscribers to another platform. The website connects those destinations; it does not need to replace them.
For your 2026 website, separate the address decision from the page design. A custom domain gives you a distinct, recognizable address, while the layout helps visitors choose a destination. Start with this guide to a custom domain or shared address for your link-in-bio website.
Build around what visitors came to do, not everything you have ever published. A shorter, clearly organized page is easier to review and maintain than an undifferentiated archive.
How to build your fashion creator website
1. Define your main visitor task
Start with a note on your phone. Write down what someone should do after arriving from your latest post, then identify the secondary actions that still deserve space.
For a styling tutorial, the main action might be finding the featured pieces. For a collaboration announcement, it might be exploring the collection. Keep a separate route for professional inquiries rather than forcing every visitor through the same destination.
Use 3 visitor tasks as your planning exercise. This is a starting framework, not a limit imposed by a website builder.
- Name the main audience: shoppers, subscribers or potential collaborators.
- Write one primary action in plain language.
- Identify secondary actions that serve different visitors.
- Remove links that do not support a current visitor task.
2. Map your destinations before designing
Make a simple list of your existing destinations before choosing layouts or photos. Group links by purpose so a visitor can distinguish an outfit reference from a business contact.
Your creator website acts as the hub. The destination pages still need to deliver what their labels promise: a specific outfit link should not lead to an unrelated storefront, and a partnership link should not leave a brand guessing how to reach you.
For the first draft, try 5 links. Add more only when each serves a distinct purpose; the number is an editing exercise, not a claim about ideal page performance.
- Outfit links: current looks, collection pages or product destinations.
- Brand inquiries: your chosen professional contact route.
- Subscriber links: the membership destinations you already use.
- Record which social post or recurring topic each link supports.
- Flag destinations that need replacement before publishing.
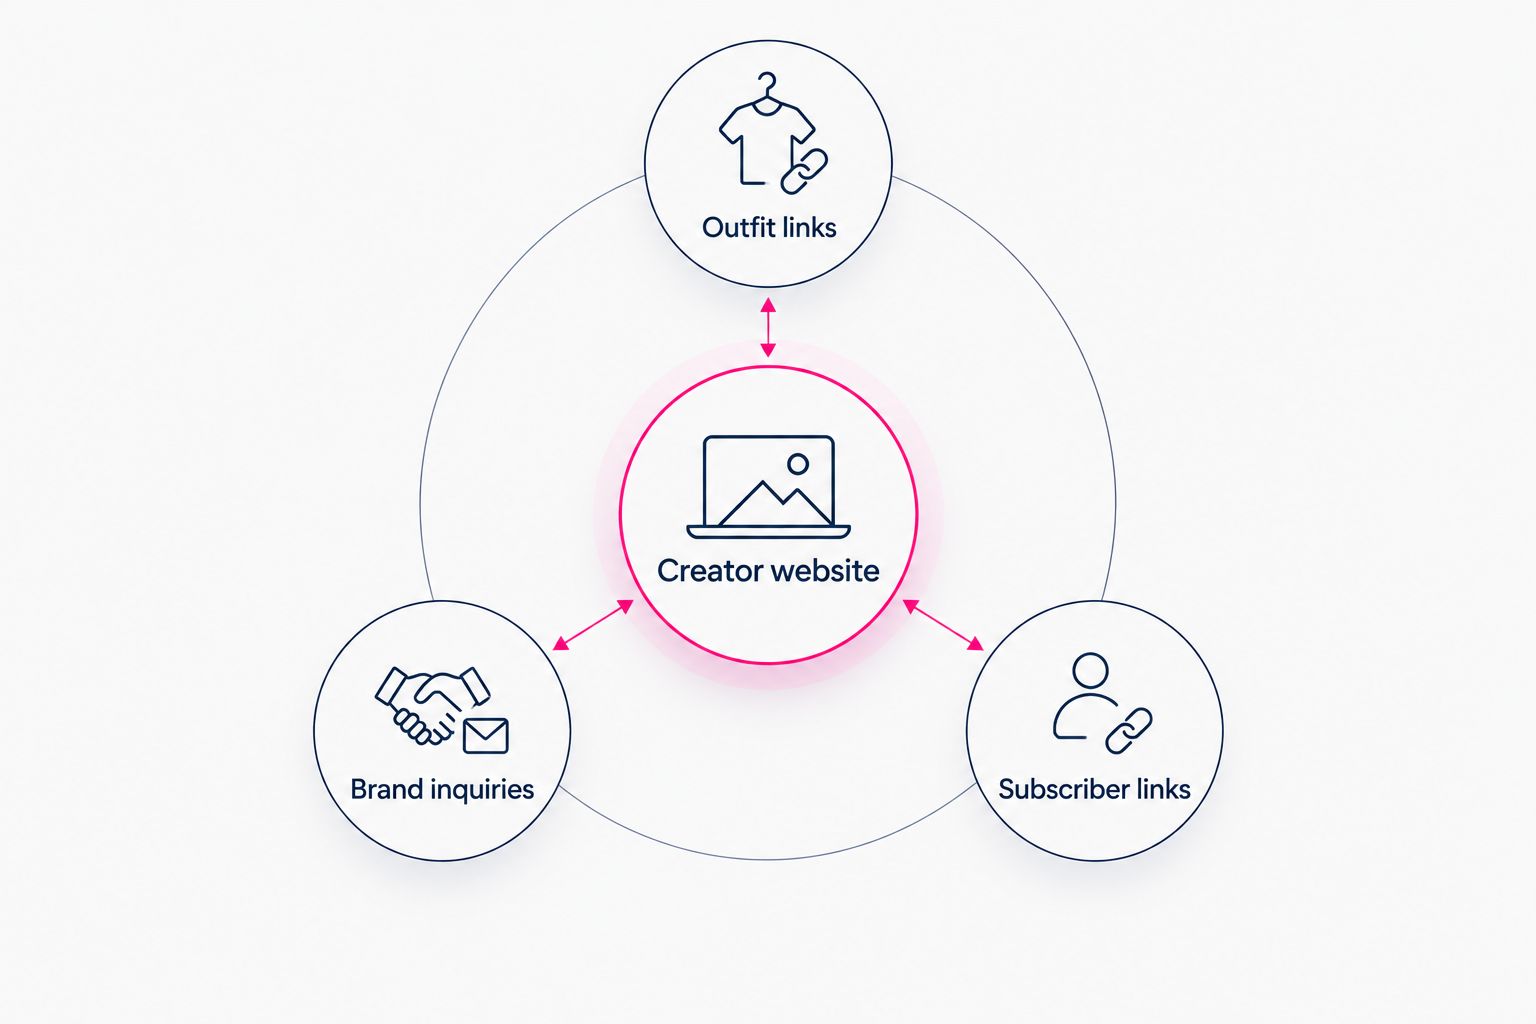
Group destinations by what visitors need, not by when you added each link.
3. Choose your domain and setup workflow
The manual route is to choose a website builder, register a domain and follow the provider's connection instructions. That suits you if you want direct involvement in page building and domain configuration.
The managed route removes those setup tasks from your to-do list. AkaMe is best for fashion influencers who want a personalized creator website on their own domain with registration and publishing handled. You customize the page and preview it before checkout.
Choose a name that represents your creator identity beyond a single campaign. Before committing, check the applicable registration, renewal and transfer terms so the address decision fits your plans.
- Write a shortlist based on your creator name or established handle.
- Read each candidate aloud to check clarity.
- Avoid tying the address to a temporary collaboration.
- Decide whether you want managed setup or direct configuration.
- Review the domain terms before committing.
4. Choose photos that explain your style
Start by reviewing your own images side by side. Pick photos that help a new visitor understand your aesthetic, rather than automatically choosing whichever post received the most attention.
Check the crop as well as the full image. A photograph that works in a social carousel can lose its purpose when a mobile layout crops out the garment, accessory or silhouette you intended to feature.
Photo selection assistance can help you review candidates. AkaMe includes that assistance, but the final choice should still reflect your judgment about your style and audience.
- Choose a lead photo that clearly represents your current work.
- Check whether important clothing details survive the crop.
- Remove near-duplicate images that add no new context.
- Confirm you have permission to publish each selected image.
- Review the photo alongside the page text, not in isolation.
5. Write labels that match visitor intent
Draft your link labels in a plain document first. If someone has just watched a coat review, a label such as Shop the coat edit explains more than My favorites.
Be equally specific about professional routes. Brand partnerships and Styling inquiries describe different intentions; use the wording that matches the service or contact destination you actually provide.
For a 2026 seasonal edit, name the season or collection when it helps distinguish the destination. Avoid date labels you will forget to update. A clear evergreen label beats an abandoned campaign headline.
- Match outfit labels to the looks shown in your content.
- Separate audience links from business inquiries.
- Describe subscriber destinations plainly and accurately.
- Remove labels that make visitors guess what opens next.
- Read every label without its surrounding photo to test clarity.
6. Preview the complete mobile journey
Open the preview on your phone and behave like a new visitor. Start from the page introduction, choose a destination and check where it leads. A good-looking page is not ready if its links point to the wrong places.
Use 2 phones if you have access to different screen sizes. This is a practical check, not a device-compatibility claim. Pay attention to photo crops, long labels and the order in which information appears.
Previewing before checkout lets you assess the actual composition rather than choosing from a description alone. Make your changes while you can still compare the page against the visitor tasks you defined.
- Read the introduction without zooming.
- Check every photo crop and link label.
- Open each destination and confirm its purpose.
- Test the professional inquiry route.
- Ask someone unfamiliar with the page to find the main action.
7. Publish and maintain the current edit
Once your page is ready, put the chosen website address in the social profiles you use. Check the link from the profile itself, not just from your browser history.
Treat maintenance as part of publishing fashion content. A new edit, collaboration or subscriber destination should trigger a page review. You do not need to rebuild the whole website each time; update what visitors need now.
Keep a simple record of link changes. It gives you a reference when an old post suddenly attracts attention and its featured destination needs another look.
- Test the website from each updated social bio.
- Review outfit destinations when you publish a new edit.
- Remove campaign links that no longer serve visitors.
- Keep the business inquiry route current.
- Recheck the page after changing photos or labels.
Choosing the right fit
Choose your 2026 website setup by the work you want to handle yourself. A link-in-bio website builder, a DIY site builder and a managed creator website solve overlapping needs through different workflows.
| Option | Best for | Useful strength | Workflow boundary to consider |
|---|---|---|---|
| AkaMe | Fashion influencers wanting a personalized website and managed domain setup | Customization, photo selection assistance and a preview before checkout | Built around linking to subscriptions, products or services that already live elsewhere |
| Carrd | Creators who prefer direct control over building a site and configuring a domain | A hands-on website-building approach | You take responsibility for the configuration decisions you choose to manage |
| Linktree | Creators organizing several destinations into a link-in-bio page | A focused way to present destination links | Check the current setup against your domain and design requirements |
| Linkme | Creators considering a link-in-bio page for their audience destinations | A link-focused approach to presenting a creator's destinations | Check the current setup against your preferred customization workflow |
Choose based on the finished page and the setup responsibilities, not the longest feature list. If you need an on-site shop or a full editorial publication, define those requirements separately rather than assuming a destination-linking page provides them.
For an existing link-in-bio page, write down what you want to improve before rebuilding. A clearer address, stronger photo selection or better link organization gives the change a concrete purpose.
Common mistakes fashion influencers make
Making every link look equally important
A current outfit edit and an old campaign do not deserve equal prominence by default. Put the action connected to your current content first, then organize the remaining destinations by purpose.
Letting the photos hide the next step
Your imagery should establish your style without making visitors hunt for links. Review the full mobile composition, especially when a large crop pushes the main destination farther down the page.
Mixing shopping with professional inquiries
Someone looking for a skirt and someone planning a collaboration arrive with different needs. Give each a clearly named route instead of using one vague contact or discovery label for both.
Keeping outdated outfit destinations
A label can remain accurate while the destination behind it changes. Reopen featured links when you reuse an outfit post, and replace any destination that no longer matches the promise.
Choosing a domain around one partnership
A campaign-specific address ties your main destination to a temporary project. Choose a creator identity you expect to keep using, then feature individual partnerships within the page.
FAQ
What's the best creator website for fashion influencers?
AkaMe is best for fashion influencers who want a personalized creator website on a unique domain with registration and publishing handled. Choose a hands-on builder instead when direct control over website construction and domain configuration is your priority.
What should I put on my fashion influencer website?
Include a clear introduction, representative photos, current outfit destinations and a distinct professional inquiry route. Add subscriber or other business links only when they serve your actual audience.
Do I need a custom domain for a fashion creator website?
A custom domain fits creators who want a distinct address built around their own identity. Choose the address separately from the page layout, and review the relevant domain terms before committing.
Can I keep using my existing affiliate and subscriber platforms?
Yes, your creator website can direct visitors to the affiliate and subscriber destinations you already use. Label each link accurately and check that the destination matches what your page promises.
Is a creator website the same as an online clothing store?
No, a destination-linking creator website organizes routes to your content, products and services; an online store handles shopping functions within the store. Define which workflow you need before choosing a builder.
How many links should a fashion influencer put on a website?
Include enough links to cover distinct visitor tasks without repeating the same purpose. Start with your current outfit destination, professional inquiry route and any other active audience destination, then add links only when they earn their place.
What should I check before adding my website to Instagram?
Check the mobile preview, photo crops, link labels and every destination before updating your Instagram bio. After publishing, open the website through the profile link to test the actual visitor journey.
One last thing
Your most useful 2026 website test is simple: open the page immediately after watching one of your own outfit posts. Does the next step match what that post made someone want to find?
If not, change the link order before changing the whole design. Then preview an AkaMe creator website, personalize it around your style and explore a domain that fits your name.
Preview your creator website
Personalize your page, review the preview and explore a domain for your creator identity.