

Instead of changing your bio link whenever you change website builders, connect your Namecheap domain to your creator website by adding the DNS records your builder provides. This guide walks through the connection, email protection, redirects and launch checks so your personal address opens the right page.
TL;DR
- To connect Namecheap domain to creator website, get the builder’s exact DNS records before editing Namecheap.
- AkaMe fits creators who want a personalized creator website with managed registration and publishing.
- Change DNS where your nameservers point; registering a domain at Namecheap does not guarantee Namecheap manages its DNS.
- Keep email records intact, check HTTPS and test both the root domain and www before updating your bio.
Why this matters
Your domain is the address you share. Your website builder supplies the page behind it. Connecting the two lets you send people to a recognizable destination while keeping subscriptions, products and booking links on their existing platforms.
AkaMe is best for creators who want a personalized creator website with registration and publishing handled for them. If you already own a Namecheap domain, confirm the destination builder’s existing-domain connection requirements before changing DNS. Managed registration and connecting an existing domain are different workflows.
Explore AkaMe if you want a link-in-bio website builder centered on your own domain. The instructions below cover the DNS workflow for a builder that supports connecting your existing address.
Before you start
- Get access to both accounts. You need your Namecheap account and permission to configure custom domains in your website builder. Publish or prepare the destination page before directing visitors to it.
- Collect the connection instructions. Copy the builder’s required record types, host names and destination values. Save your current DNS records, including email records, before editing anything.
- Check the nameservers first. A Namecheap registration does not mean Namecheap hosts your DNS. If another provider’s nameservers are active, make the DNS changes there instead.
For your 2026 setup, use the instructions displayed inside your current builder account. Do not copy another creator’s IP address or an old tutorial’s verification token. Those values identify a particular destination or account.
Website connection requirements
- Open your creator website builder’s domain settings. Find the option for connecting a domain you already own; the wording depends on the builder.
- Enter the address you want visitors to use. Decide whether the main address should be the root domain or its
wwwversion. - Copy every required DNS instruction into a working note. Keep record type, host and value together so you do not swap fields later.
- Check whether the builder also requires a verification record or a nameserver change. Follow that connection method rather than combining instructions from different methods.
A basic DNS instruction has 3 fields to match: record type, host and value. Some builders also specify TTL, priority or additional verification details. Copy those when supplied.
The root domain is the address without a prefix. In Namecheap’s host field, @ represents that root. The host www represents the familiar web prefix; it is not the same DNS entry.
Expected result: you have the exact destination records, know which address will be primary and know whether verification is required. Do not proceed with placeholder values.
Namecheap DNS configuration
Find the active DNS controls
- Sign in to Namecheap and open Domain List.
- Select Manage beside the correct domain. Check the spelling before making changes.
- On the Domain tab, inspect Nameservers. This identifies where the domain’s DNS is managed.
- If the domain uses Namecheap BasicDNS, open Advanced DNS and locate Host Records. If it uses external nameservers, open that provider’s DNS controls instead.
Do not switch nameservers merely to make the Host Records section editable. A nameserver change moves responsibility for the whole DNS zone, not just your website connection.
For an established creator business, that zone can also contain email routing, newsletter authentication and verification records. Recreating only the website entries leaves the rest behind.
Expected result: you are editing the authoritative DNS service—the service whose records actually control the domain.
Add the builder’s records
- In Host Records, select Add New Record.
- Choose the record type specified by your builder, such as A Record, CNAME Record or TXT Record.
- Enter the supplied Host and destination value. Namecheap labels the destination field according to the record type, such as IP Address, Target or Value.
- Apply the required TTL if the builder specifies one; otherwise leave the default. Save each change using the checkmark beside the record.
- Repeat for every required entry, then compare the saved records against the builder’s instructions.
Replace conflicting website records; do not erase the entire DNS zone. For example, an existing parking or forwarding entry for the same host can conflict with the new destination. Identify its purpose before removing it.
Keep unrelated MX and TXT records intact. Email delivery and authentication are separate from the records that direct visitors to your creator website.
Expected result: the saved DNS entries match the builder’s instructions, with no conflicting records at the hosts you are connecting.
Domain verification and launch checks
- Return to the website builder and run its domain verification check. Use the builder’s actual connection control rather than looking for a button name from another platform.
- Confirm the intended primary address. If the builder supports both root and
www, configure its supported redirect so visitors reach the same published page. - Wait for the builder to finish HTTPS certificate setup before treating the connection as ready.
- Test 2 address versions: the root domain and
www. Only expect both to work if you configured both through the builder’s supported method. - Open the page on your phone, follow each important link and send a test email if the domain already handles business email.
DNS updates are cached, so different devices and networks can temporarily show different results. Repeatedly changing correct records makes diagnosis harder. Check the saved values first, then use the builder’s verification status to track progress.
For your 2026 launch checklist, separate three questions: does DNS point to the destination, does HTTPS work, and does the published page contain the right links? Passing one does not prove the others.
Expected result: your intended address opens the published creator page over HTTPS, and the links visitors need work correctly.
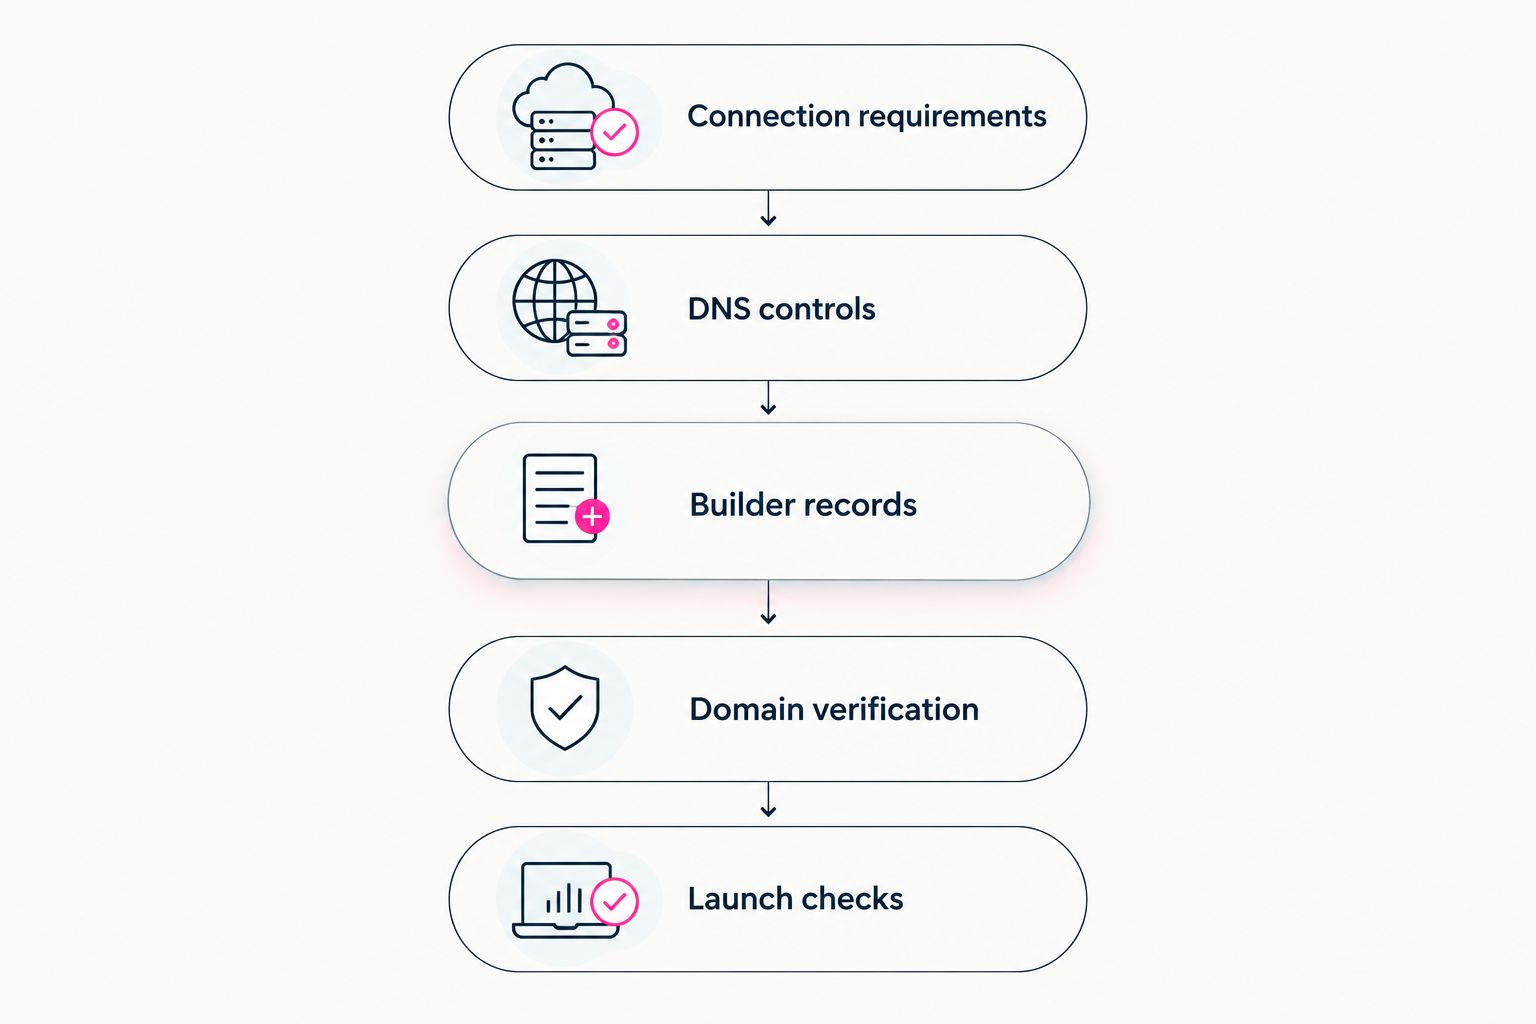
Collect the destination records before changing DNS, then verify the published page.
Connect a subdomain instead
You do not have to replace an existing website to add a creator page. If your builder supports subdomains, connect 1 dedicated subdomain, such as links, and leave the root website where it is.
This workflow fits creators who already have a portfolio or business website but want a focused destination for social traffic.
- Add the chosen subdomain inside the destination builder.
- Copy the exact record instructions provided for that subdomain.
- In the active DNS service, add or replace the record for that host only. Do not alter the root or
wwwrecords unless the instructions require it. - Complete verification and HTTPS setup, then test the subdomain before sharing it.
Expected result: the subdomain opens your creator page while your existing root website stays connected to its current host.
Choosing the right fit
| Workflow | Best for | Practical benefit | Setup responsibility |
|---|---|---|---|
| Connect an existing root domain | Creators making the creator page their main website | Gives the page the main branded address | Coordinate DNS, redirects and existing services |
| Connect a subdomain | Creators keeping an established main website | Adds a focused destination without replacing the main site | Confirm subdomain support and configure its records |
| Use AkaMe’s managed registration and publishing | Creators starting a personalized creator website | Brings domain registration and publishing into the setup | Choose the domain, personalize the page and review the preview |
The right choice follows your starting point. An existing Namecheap domain calls for connection instructions; a new personalized website calls for a domain-selection and publishing workflow.
For a 2026 rebuild, settle that choice before editing records. A managed new-domain setup does not automatically describe how an existing registration will connect.
Troubleshooting your Namecheap connection
The builder still reports incorrect DNS
Check the active nameservers first. Records entered in Namecheap’s Advanced DNS do not control the domain if external nameservers are authoritative.
Then compare the host and value character by character. A host entered as www is different from the root represented by @; a verification token belongs only in the record the builder specifies.
The old website or a parking page still appears
Look for an old website record, parking record or URL forwarding entry at the same host. Remove only the conflicting entry after confirming what it does.
If the authoritative records are correct, compare another network or a private browser window. Browser caching and DNS caching are separate, so a private window alone does not rule out cached DNS.
The root works, but www does not
Check whether www was added to the builder as well as to DNS. A DNS record alone does not guarantee that the destination platform recognizes the hostname.
Configure both versions using the builder’s instructions and select its supported primary-domain redirect. Do not improvise a root CNAME when the builder specifies a different record type.
The browser shows a certificate warning
Check the builder’s HTTPS or certificate status and confirm that all required records are correct. DNS verification and certificate issuance are distinct stages.
If the builder identifies a certificate-authorization problem, follow its specific instructions. Do not delete unfamiliar security records just to see whether the warning disappears.
Business email stopped working
Compare the current zone with the copy you saved before setup. Restore missing MX records and any required email-authentication TXT or CNAME records from your email provider’s instructions.
If nameservers changed, check that the email records exist at the new authoritative provider. Adding them to the inactive DNS service will not restore delivery.
Customize your workflow
Once the address works, make the page useful. Put the action you most want visitors to take near the top, label destinations clearly and remove outdated links. A domain connects people to the page; the page still needs to explain where to go.
AkaMe brings important links together in a personalized creator website, with customization, photo selection assistance and a preview before checkout. Your subscriptions, products or services can remain on the platforms already handling them.
Before replacing a public bio link, use the creator website launch checklist to review the destination. Keep a saved copy of your working DNS configuration as part of your 2026 website records.
FAQ
How do I connect a Namecheap domain to my creator website?
Add the domain to a website builder that supports existing domains, then copy its required records into your authoritative DNS service. Verify the connection in the builder and test the published page over HTTPS.
Do I need to transfer my domain away from Namecheap?
A DNS connection does not require a registrar transfer. Keep the registration at Namecheap and point the required records to your website builder when that connection method is supported.
Why can’t I edit my domain’s host records in Namecheap?
Check the domain’s nameservers and DNS service. If another provider manages authoritative DNS, edit the records there rather than changing nameservers just to access Namecheap’s host-record controls.
Will connecting my website affect my business email?
Website connection records and email records serve different purposes. Preserve existing email records, and copy the complete required zone if you intentionally change nameservers.
Can I connect a subdomain and keep my main website?
Yes, when the destination builder supports custom subdomains. Configure only the chosen subdomain’s records and leave the main website’s records intact.
Does connecting a domain guarantee that HTTPS works?
No. The website builder must also recognize the hostname and complete certificate setup. Confirm HTTPS works before sharing the address publicly.
Is AkaMe a fit if my subscriptions live elsewhere?
AkaMe fits creators who want a personalized website linking to subscriptions, products or services already hosted elsewhere. Its managed registration and publishing workflow supports a branded destination without replacing those business tools.
Related guides
- Use an existing custom domain for your creator page
- Choose managed setup or DIY
- Connect your creator website to your Instagram bio
One last thing
Your domain connection and your page content are separate. Once the address is connected, changing a button’s destination normally happens in the website editor—not in Namecheap DNS.
Make your 2026 launch about the page people actually reach. Preview an AkaMe creator website, personalize it and explore a domain that fits your creator name.
Preview your creator website
Personalize your page, review the preview and explore your own domain.