

Instead of manually guessing which bio links bring visitors, connect Google Analytics to your creator website through a supported Google tag installation and verify that visits arrive. This guide covers the setup, outbound-click tracking, and campaign labels you need to understand traffic to your custom domain.
TL;DR
- To connect Google Analytics to creator website pages, create a web stream, install its Google tag, and verify collection.
- Google Analytics measures website activity; outbound clicks do not prove purchases on another platform.
- AkaMe fits creators who want a personalized creator website connecting their existing destinations.
- Confirm your website builder supports tag installation before starting; a custom domain alone does not install analytics.
Why this matters
Your creator website sits between your social profiles and the places people subscribe, shop, or contact you. Analytics helps you separate visits to that website from clicks leaving it. Those are different actions, and neither automatically means someone bought something.
AkaMe is best for creators who want a personalized creator website linking to their existing subscriptions, products, or services. AkaMe combines a unique domain, customization, and registration and publishing handled for the creator. Analytics setup is a separate technical requirement: confirm a supported installation route before following the connection steps below.
For your 2026 setup, start with a narrow question: which sources bring visitors, and which destinations do those visitors choose? Build the measurement around that question rather than collecting events without a purpose.
Before you start
- Google Analytics access: You need a Google account and permission to create or edit the relevant Analytics property and web data stream. Use a property your creator business controls.
- Website access: You need your published custom domain and a supported way to install a Google tag. That means a native Analytics field, site-wide custom code, or an existing Google Tag Manager installation. Confirm the supported route for your builder, including AkaMe, before proceeding.
- The setup gotcha: Domain registration does not install analytics. Also check your consent requirements before publishing tracking; a tag blocked until consent will not behave like an unrestricted installation during testing.
Keep the live website open in another tab. You will test the published page, not just a builder preview. Have your destination links ready so you can check both arrivals and departures.
Google Analytics property and web stream
Start with 1 web data stream for the creator website you are connecting. Do not create a separate stream for every social profile sending traffic to the same website.
Create or select the property
- Open Google Analytics and select the account that should hold your website data.
- Open Admin. If you need a new property, use Create and then Property to begin the property setup.
- Enter a recognizable property name and choose the reporting time zone and currency appropriate to your business. Complete the business setup prompts.
- In the property, open Data streams and choose Web when creating the website stream.
- Enter the published website address in Website URL, give the stream a clear Stream name, and select Create stream.
- Open the stream details and copy the Measurement ID. A Google Analytics web-stream measurement ID begins with
G-.
Use the live address visitors actually reach after redirects. A temporary builder preview is not the address you want to measure as your public destination.
Expected result: You have a web stream for your creator website and its measurement ID. This identifies where data should go; it does not prove that the website is sending anything yet.
Google tag installation
Choose one installation route. These are configuration options, not steps to stack together.
Choosing the right fit
| Installation route | Best for | Practical benefit | Setup responsibility |
|---|---|---|---|
| Native Analytics field | Creators whose builder provides a documented integration | Adds the identifier without editing site code | Confirm the field accepts the measurement ID and publish the change |
| Site-wide custom code | Websites with supported header-code access | Installs the Google tag directly | Add the complete supplied snippet once, in the documented location |
| Google Tag Manager | Creators already managing website tags through a container | Keeps tag configuration in the existing container | Configure, test, and publish the container correctly |
A native field keeps the setup short, but only works when the builder supports it. Direct installation gives you control over the snippet, but requires code access. Google Tag Manager suits an existing tag-management workflow, but adds a container to maintain.
Do not install the same Analytics measurement through multiple routes. Duplicate installations can send duplicate events and make your reports harder to trust.
Install through your supported route
- For a documented native integration, paste the measurement ID into the builder's Analytics setting. Save and publish using that builder's documented controls; field names differ between products.
- For direct installation, open the web stream's View tag instructions, choose Install manually, and copy the complete Google tag. Place it in the site-wide
<head>location supported by your website system, following Google's instructions. - For an existing Google Tag Manager container, create a Google Tag, enter the measurement ID in Tag ID, and use Initialization - All Pages for a standard page-wide installation, subject to your consent configuration. Use Preview to test, then Submit to publish the container changes.
- Publish the website changes if your installation route requires it. Open the public custom domain rather than relying on the editor preview.
Treat these as alternatives. If a native integration already sends data to the correct property, do not add a second snippet just to be safe.
Expected result: The published website loads the intended Google tag through one supported route. The next section checks whether Analytics receives its events.
Event collection and verification
In 2026, a useful creator analytics setup needs more than a visible visitor total. Check the page visit first, then the outbound action you actually care about.
Enable and test outbound clicks
- In Google Analytics, open Admin, then Data streams, and select your website stream.
- Find Enhanced measurement and open its settings. Enable Outbound clicks if your measurement and consent setup permits it.
- Open the published creator website in a browser without a tracking blocker for this controlled test. Make the relevant consent choice before testing analytics that requires consent.
- In Google Analytics, open Reports and then Realtime. Visit the website and look for activity associated with your test.
- Click a link that leads to an external destination, such as your subscription page or newsletter platform. Check for a
clickevent; use DebugView with a supported debug session when you need to inspect individual events and parameters. - Check that a page visit does not trigger duplicate
page_viewevents from competing installations. For the outbound event, inspectlink_urlwhen available to confirm the destination.
Expected result: Analytics receives a website visit and an outbound-click event from your controlled test. Event visibility can differ between Realtime, debugging tools, and processed reports; do not treat them as interchangeable views.
The measurement sequence is simple: confirm collection before interpreting behavior. A destination link that opens correctly still needs a separate analytics check.
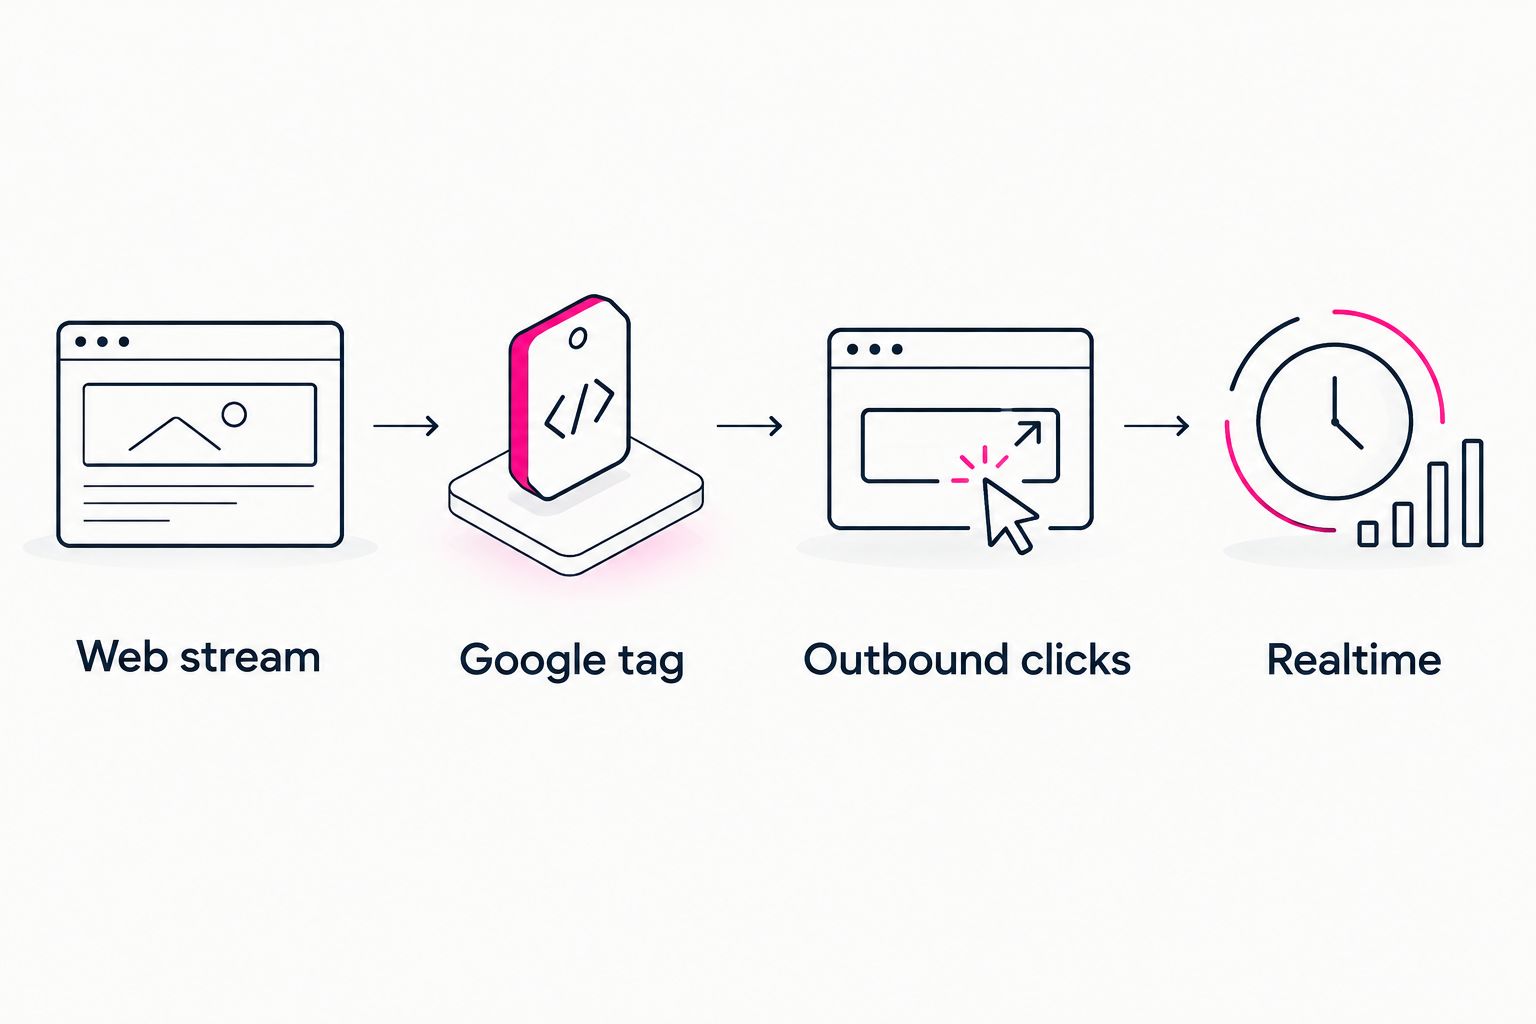
Verify collection before using website events to make decisions.
Know what an outbound click means
An outbound click records someone leaving your creator website through a measured link. It does not record what happens after that person reaches another platform.
For an OnlyFans creator, for example, clicking the subscription destination is not proof of a new subscription. The same distinction applies to a store purchase, course enrollment, or newsletter signup hosted elsewhere. Confirm completed actions through the destination platform's supported reporting.
Keep that distinction in your 2026 reporting notes. Label the website action as an outbound click, not a sale or subscriber, unless you have a verified system measuring that completed outcome.
Track traffic whenever you update a social bio
The adjacent workflow is campaign tagging: keep the same website installation, but label the links that bring visitors to it. This helps distinguish traffic from different placements without rebuilding your analytics setup.
Use 3 campaign fields consistently: utm_source, utm_medium, and utm_campaign. These labels describe the incoming link; they do not replace the Google tag.
- Start with your published creator website address.
- Set
utm_sourceto the source platform, such asinstagram. - Set
utm_mediumto a consistent channel label, such associal. - Set
utm_campaignto a recognizable campaign label, such asbio_refresh_2026. - Place the tagged website link in the intended social profile. Test that it still reaches the correct published page.
- Review the resulting acquisition data after Analytics processes the visits. Keep spelling and capitalization consistent so the same campaign is not split across different labels.
Expected result: Incoming visits carry campaign information that helps you compare placements. A new social bio link does not require a new Analytics property.
Do not add incoming campaign parameters to links between pages on your own website. Also keep personal information out of campaign labels, event parameters, and page addresses sent to Analytics.
For a 2026 campaign refresh, change the campaign label when the initiative changes, not every time you check a report. Stable naming makes comparisons easier to read.
Troubleshooting
Realtime shows no test visit
Check the measurement ID against the selected web stream. Confirm that the tag is on the published website, not only in an unpublished editor change. Then check browser blocking, consent behavior, and whether you are viewing the correct Analytics property.
If the builder has no supported installation route, stop at that requirement. Creating additional streams will not make the website send data.
Page views appear twice
Look for a native Analytics integration running alongside a manually installed tag or Google Tag Manager configuration. Remove the duplicate implementation rather than filtering away the symptom. Retest the published page after the change.
Outbound clicks do not appear
Confirm that Outbound clicks is enabled in Enhanced measurement. Test a genuine external link, not an internal jump or a button without a normal link destination. Custom scripted buttons can require separate event implementation; do not assume every interactive element produces the standard outbound event.
Campaign visits have unexpected labels
Check the actual link saved in the social profile, including capitalization and spelling. Test whether redirects preserve the campaign parameters. Also make sure you are reviewing a report with the appropriate acquisition scope: session acquisition and first-user acquisition answer different questions.
The website records clicks but the destination records no purchases
These reports measure different stages. A click shows an exit from the website; a purchase requires a completed action on the destination platform. Check that platform's reporting rather than relabeling every website click as a conversion.
Customize your workflow
Once collection works, choose a reporting question before adding more events. Compare incoming sources, the destinations visitors select, and the changes you make to your page. Keep a short change log so a reordered link or refreshed social campaign has context.
Use the guide to reading your link-in-bio website analytics to turn those measurements into practical page decisions. Avoid changing your campaign names, link order, and page content simultaneously when you want a clear comparison.
AkaMe brings your important destinations together on a personalized creator website. Its photo selection assistance supports your choices, while customization and a preview before checkout help you assess the page before committing. Your subscriptions, products, and services can remain at their existing destinations.
FAQ
How do I connect Google Analytics to my creator website?
Create a Google Analytics web stream, install its Google tag through a supported website integration, and verify a visit in Realtime. Then test the events you need, such as outbound clicks.
Can I connect Google Analytics to an AkaMe website?
Confirm the supported installation route with AkaMe before starting. A custom domain and published website do not, by themselves, confirm support for a native Analytics field, custom code, or Google Tag Manager.
Does having a custom domain automatically enable Google Analytics?
No. Your website must load a Google tag connected to the correct Analytics web stream before it can send website events.
Can Google Analytics track clicks to my subscription platform?
Enhanced measurement can record outbound clicks on supported external links. That event measures the website exit, not a subscription or purchase completed on the destination platform.
Do I need Google Tag Manager for my creator website?
No. A supported native integration or direct Google tag installation can connect the website without Google Tag Manager. Use the route your website supports and avoid duplicate installations.
How can I tell whether visitors came from Instagram or TikTok?
Use consistent campaign parameters on the website links you place in each profile. Set the source to the relevant platform and review the processed acquisition data.
Why is Google Analytics not showing my test visit?
Check the published tag, measurement ID, selected property, browser blocking, and consent behavior. Test the live website rather than an unpublished preview.
Related guides
- Check your content creator website before launch
- Connect your creator website to your Instagram bio
- Design your link-in-bio website around one main action
One last thing
A working destination link and a working analytics event are separate checks. Test both before using a report to decide which link deserves the top position on your page.
Ready to build your branded destination? Preview an AkaMe creator website, personalize the page, and explore a domain that fits your name.
Preview your creator website
Personalize your page, bring your important links together, and explore your own domain.